Q: As Seattle enters Safe Start phase two, I’m hoping to host some small, socially distant, outdoor get-togethers. Are there any quick, inexpensive ways to make my backyard more inviting?
A: Adding some ambient lighting with string lights can transform your backyard into a space to reconnect after a long stay-at-home spring. String lights are extremely versatile—they can be hung in many different lengths and patterns and are easy to attach to a variety of surfaces. They only take a few steps and supplies to install.
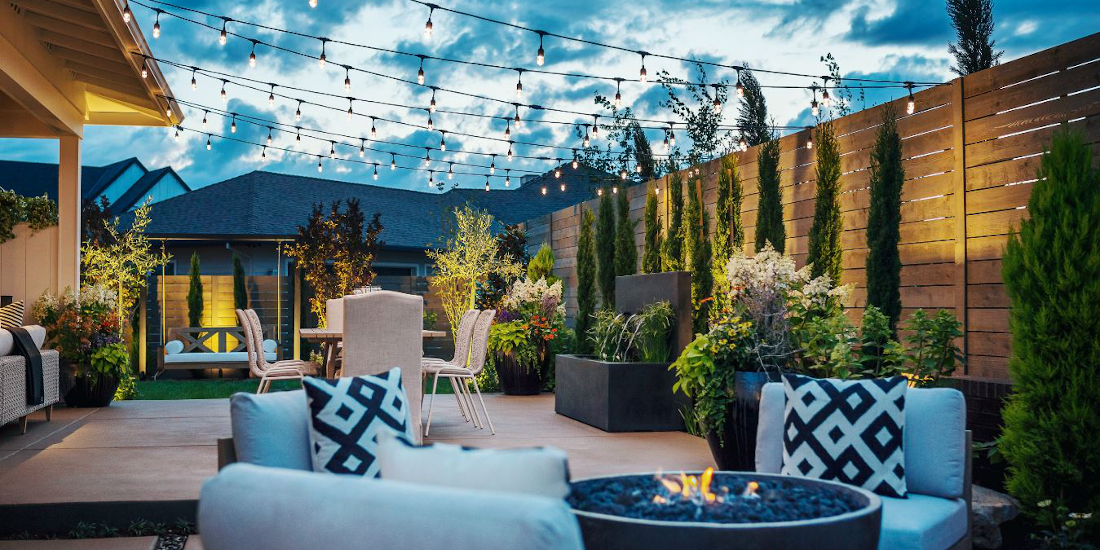
It’s more important than ever to have an outdoor living space to host family and friends safely and comfortably. Adding a simple element like string lights is not only cost-effective, but is a stylish way to designate space and create an intimate, relaxing backyard retreat. Start by planning your layout and gathering your materials.
Plan Your Layout
Examine your space and see what you can work with. Do you have a tree, fence, or standing structure that lights can be attached to? If yes, great! If not, you can create your own while simultaneously adding landscaping with string light planters. This fun side project uses four-by-four outdoor posts, planters, and a few other materials to create the structure needed for hanging lights.
Next, try to envision your string light layout—do you want a canopy, zig zag, or outline? Once you have an idea of how you would like to hang your lights, get out and take some measurements.
Tip: It can be helpful to sketch the design out on paper before measuring so you can label the lengths of your lights.
Gather Your Materials
- String lights: Use your measurements to order the correct length of string lights to cover your design. LED string lights are a great option because they’re long-lasting and energy efficient.
- 2 ⅝” screw eyelets: You will need one screw-in eyelet for every surface point that will attach to your lights. It’s always a good idea to have a couple extra on hand just in case.
- Zip ties: These will be used to attach your lights to the eyelets. Most string light cords are black, so use matching black ties to help keep them hidden from sight.
- Scissors: To cut the excess length of your zip ties after attaching.
- Drill: To make starter holes for your eyelets.
- Measuring tape and pencil: To use for placement of screw eyelets.
Install Your Lights
Now that you have your plan and your materials, it’s time to put it all together.
- Step 1: Measure and mark contact points
For adequate headspace you’ll need to install your eyelets at least eight feet from the ground. String lights look best when installed evenly, so use your measuring tape and pencil to mark each point where you plan to attach a screw eyelet. If you are attaching to a tree, it may be easier to mark with chalk or tie a string. If your yard isn’t level, you will need to take that into account and adjust your measurements accordingly.
- Step 2: Install hooks
Use a power drill to make starter holes at your marked locations. Screw in the eyelet until the threaded portion is completely concealed within the surface. Install all eyelets before connecting any string lights.
- Step 3: Attach string lights
Start attaching your string lights with the plug-end at the location closest to a power source. Use a zip tie to secure the light cable to each eyelet along your pre-planned path. Attach the zip ties loosely at first in case any adjustments need to be made along the way. Once your lights are hung, fully secure each zip tie and snip off the excess plastic with scissors.
Now it’s time to go enjoy your newly updated space with family and friends! Cheers to a safe and healthy summer.
Rachel Dixon is the marketing manager at Seattle Lighting, a member of the Master Builders Association of King and Snohomish Counties (MBAKS). If you have a home improvement, remodeling, or residential homebuilding question you’d like answered by one of MBAKS’ more than 2,600 members, write to homework@mbaks.com.